v20
Caution
- To complete this integration successfully, you will need a Global Administrator account in Microsoft 365.
- Configuring this integration will make emails send using Microsoft 365 by default, see Setup Custom Email for Microsoft 365 for how to change the sending address to a valid mailbox, user or shared.
Activating the Integration
Video Walkthrough

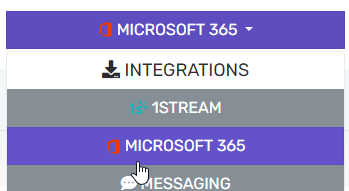
- Go to Integrations > Microsoft 365
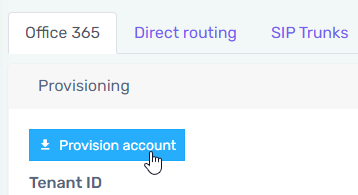
- Click on the Provision account button.

- The page will refresh and ask you to sign into Microsoft with your Admin account, click Connect
- At the Microsoft prompt screen, sign in with your Microsoft Admin account and Consent and accept the permissions.
- Once it shows Account successfully provisioned you can close this popup
- Refresh the bvoip Integrations page, and it should show the tenant and application IDs now.
It may take 5-10 minutes for Microsoft propagation to show this is working, you may need to refresh the page a few times.
Integration Next Steps
Once this has been completed, you can proceed with utilizing the different components of the integration, but some may need additional setup.
The documents below will cover next steps for each of the integration components.
- For SSO, see Setup Microsoft 365 Single Sign-On (SSO) for Phone Systems
- For Teams see Setup and Verify the Teams Domain
- To sync Outlook meeting status to extension presence, follow Sync Teams Status to Presence
- To send email faster, see Setup Custom SMTP for Microsoft 365
- For synchronizing user properties see Contacts and User Data Sync from Microsoft 365
- For synchronizing contacts see Sync User Microsoft 365 Contacts
- For synchronizing company contacts see Sync Company Microsoft 365 Contacts
- To copy recordings to SharePoint see Archive Recordings to SharePoint
v18
Access Requirements
To complete this integration successfully, you will need a Global Administrator account in Microsoft 365.
Activating the Setup and Validating the Domain
- Log into the bvoip phone system.
- Go to the Integrations menu and select Microsoft 365 from the dropdown.
- Click on the Provision account button.
- The page will refresh and ask you to sign into Microsoft with your Admin account, click Sign in
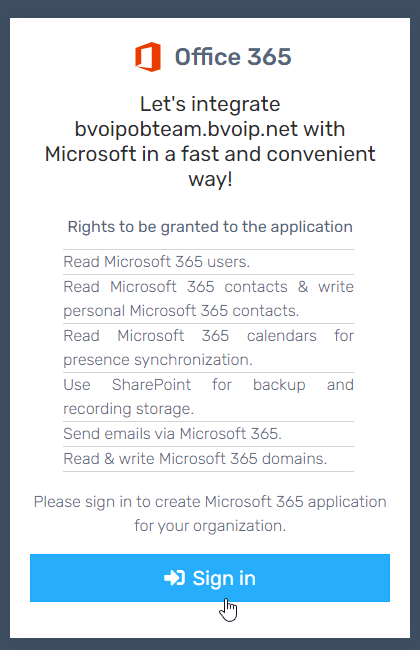
- At the Microsoft prompt screen, sign in with your Microsoft Admin account and accept the permissions.
- Once it shows Account successfully provisioned you can close this popup
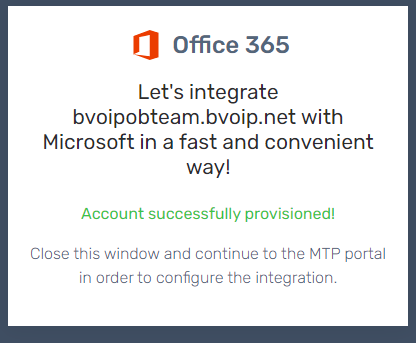
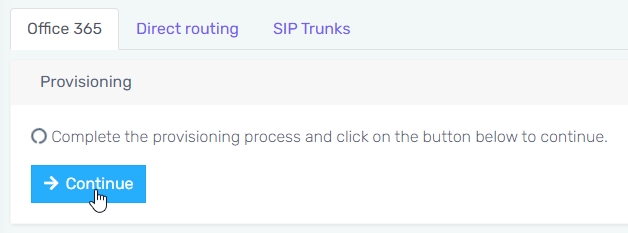
- Click on the Continue button.
Integration Next Steps
Once this has been completed, you can proceed with utilizing the different components of the integration, but some may need additional setup.
The documents below will cover next steps for each of the integration components.
- For SSO, see Setup Microsoft 365 Single Sign-On (SSO) for Phone Systems
- For Teams see Setup and Verify the Teams Domain
- To sync Outlook meeting status to extension presence, follow Sync Outlook Calendar Status to Presence
- To send email faster, see Setup Custom SMTP for Microsoft 365
- For synchronizing user properties see Contacts and User Data Sync from Microsoft 365
- For synchronizing contacts see Sync User Microsoft 365 Contacts
- For synchronizing company contacts see Sync Company Microsoft 365 Contacts
- To copy recordings to SharePoint see Archive Recordings to SharePoint