Adding Image to Control Profile
If you are wanting to add an image for your user profile in the Control Portal, please see our Adding User Image in Control article.
Adding an Image
- Log into the bvoip web client.
- Click on the User Picture to open the General Settings section.

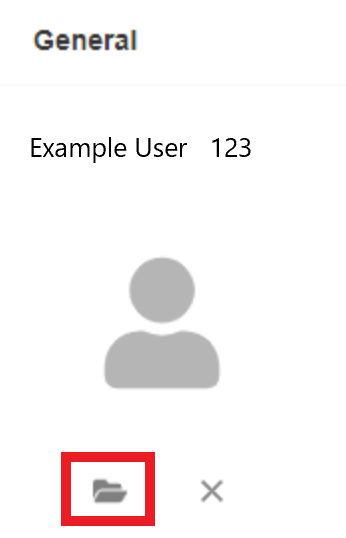
- Click on the folder icon. A prompt to select a file from your computer will appear.

- Select the desired file. Images must be in jpg, jpeg or png formats.
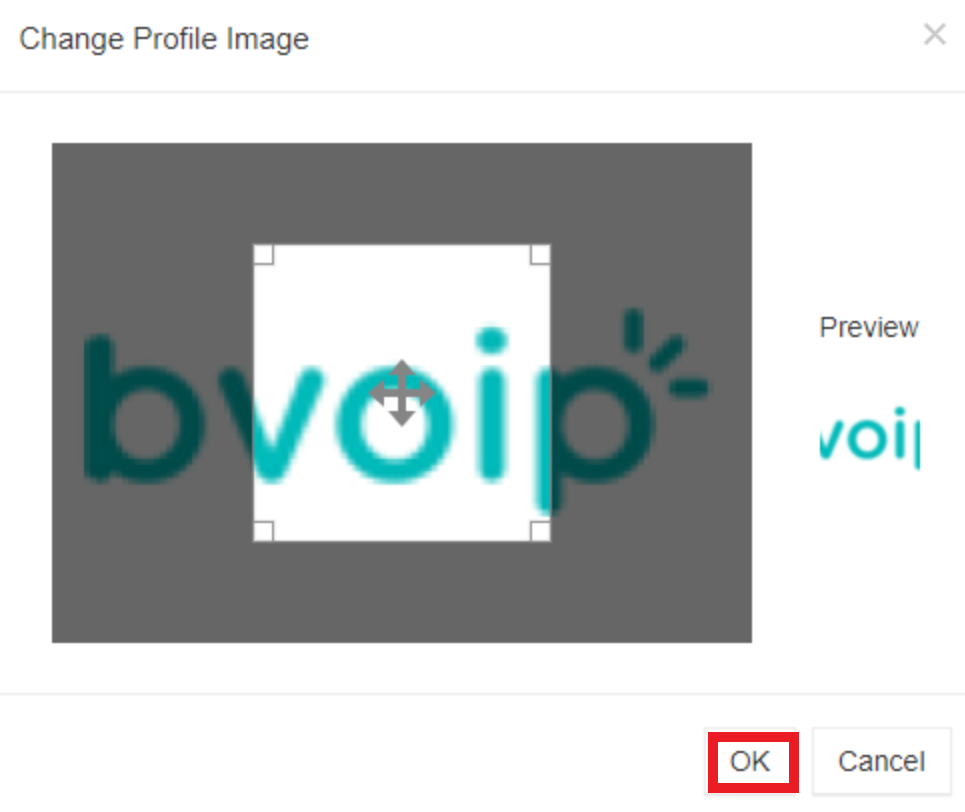
- Click the Open button. The Change Profile Image pop-up will appear to display the selected image and also allow for adjusting how the image should be viewed.

- Click the Ok button. The image should then be displayed.