Provider Support Notice Warning: This may no longer be possible in the United States
Anti-Spoofing / Robocalling Regulations: Telecom rules require the transmitting party to authenticate the number being sent. If a carrier sees an outbound call originating from your account with a caller ID they know you don’t own, they treat it as illegal spoofing.
Adjusting the Outbound Caller Parameters
- Log into the bvoip phone system.
- Click on the Call Flow drop-down menu.
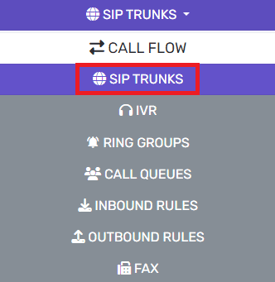
- Go to the SIP trunks menu item.
- Click on the Edit button beside the desired SIPTrunk.
- Go to the Outbound Parameters tab.
- Scroll down to the From: Display Name parameter.
- Select the OriginatorCallerID option from the drop-down.
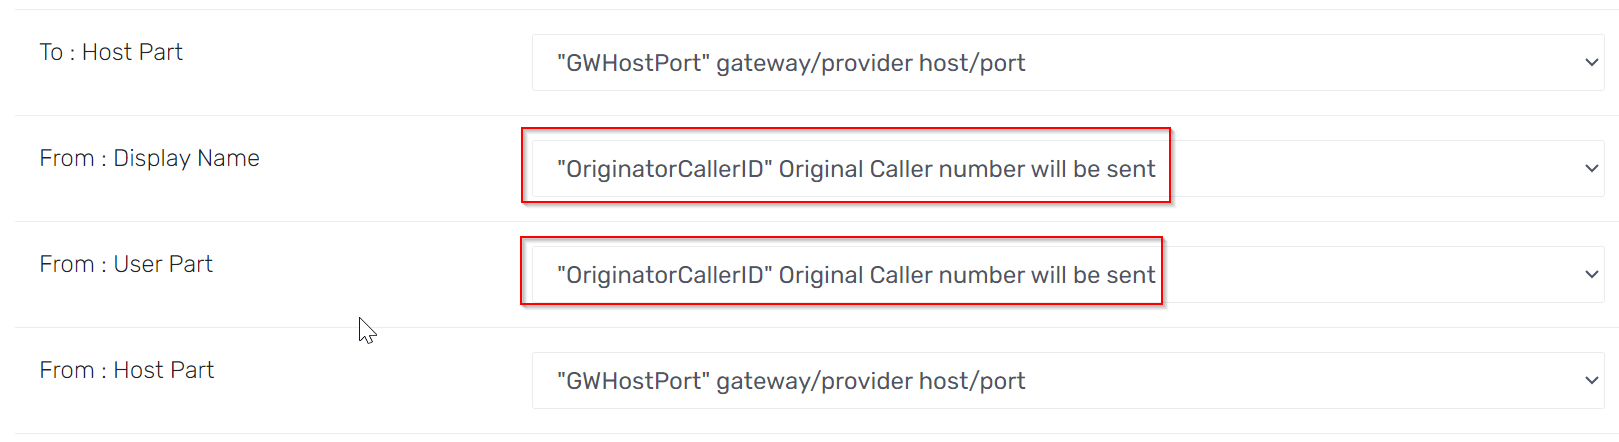
- Scroll down to the From: User Part parameter.
- Select the OriginatorCallerID option from the drop-down.
- Click the Save button. You can now forward a call, and the original caller ID should be carried through on all outbound calls.
Call Forwarding Setting in Google
In order to make sure calls from Google Voice are being forwarded correctly, be sure to go into the Google Voice web admin portal, under settings > Calls and turn on the switch that says, "Show my Google Voice number as caller ID when forwarding calls".