Creating Textable Drip Campaigns
- Log into Textable.
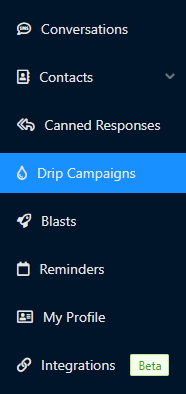
- Go to the Drip Campaigns menu.
- Click on the Create New Campaign button. A side window will appear to help create the Drip Campaign.

- In the Campaign Name field, name the Campaign.
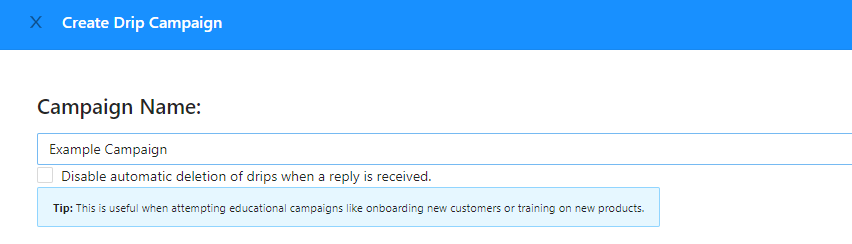
- If desired, click on the Disable automatic deletion of drips when a reply is received checkbox.
- In the Drip textbox, input the desired drip message. Alternatively, you can click on the Upload Attachment button to import a desired message file.
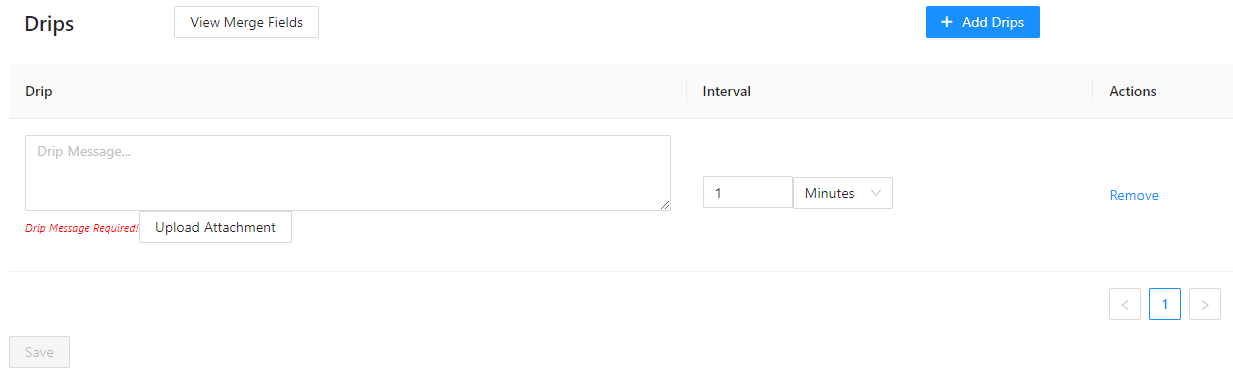
- Under Interval, select the desired time frame.
- Click on the Add Drips button to add additional drip messages.
- Click the Save button when done.
The campaigns will then be listed on the Drip Campaigns page, with the ability to be deleted or edited.
Using a Drip Campaign
- Log into Textable.
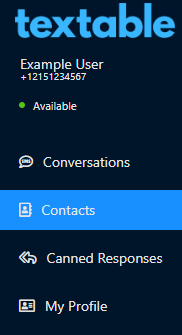
- Go to Contacts.
- Select a current contact by clicking on them. The conversation text will appear.
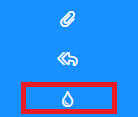
- Click on the Drip icon. The Apply Drip Campaign to Contact pop-up will appear.
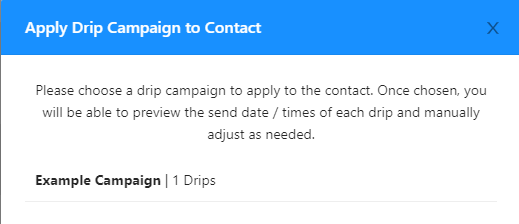
- Select the desired Drip Campaign. A second pop-up will appear displaying a preview of the Drip Campaign.
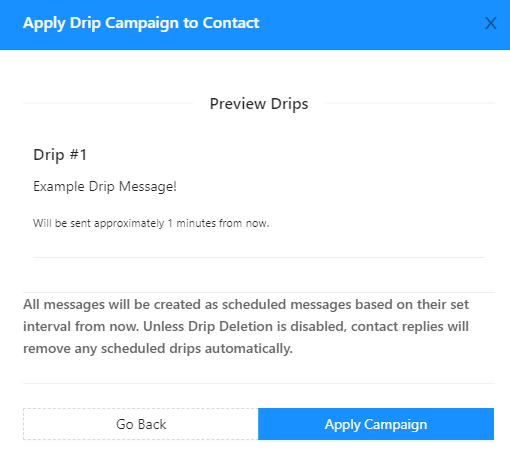
- Click on the Apply Campaign button. A confirmation pop-up will appear.
- Click on the Ok button.
The Campaign will then trigger at the allotted time.